-
 Menú close
 - arrow_forward_iosServices
- Services arrow_back_ios
- arrow_forward_iosDeveloped by PrestaShop
- arrow_forward_iosPrestaShop made to measure
- PrestaShop made to measure arrow_back_ios
- Custom PrestaShop modules
- Customizing PrestaShop modules
- Creation of PrestaShop
- arrow_forward_ioshosting Prestashop
- hosting Prestashop arrow_back_ios
- Hosting for PrestaShop
- Google cloud for Prestashop
- Hosting consulting services
- arrow_forward_iosMarketing and advertising
- Marketing and advertising arrow_back_ios
- SEO for prestashop
- SEM for PrestaShop
- Promotion
- Basic plans
- arrow_forward_iosAddons from PrestaShop
- Addons from PrestaShop arrow_back_ios
- arrow_forward_iosProduct Page PrestaShop Modules
- Product Page PrestaShop Modules arrow_back_ios
- Personalised products
- Reservations and rentals
- Sale of tickets
- Management of taxes on products
- arrow_forward_iosPrestaShop Modules for Logistics and Transportation
- PrestaShop Modules for Logistics and Transportation arrow_back_ios
- Personalisation of shipments
- Click & Collect
- arrow_forward_iosPayment
- arrow_forward_iosStore management
- Store management arrow_back_ios
- Utilities
- Taxes
- Customer Support
- Importers/exporters (Dropshipping)
- Best sellers
- arrow_forward_iosTypology
- Hour bonuses for PrestaShop development
- Mantenimiento PrestaShop
Buscar productos...
Ctrl+K
0
Steps to create categories in PrestaShop 1.6
In Prestashop categories are very useful to organize the product catalog. Your customers at the front you will find items that are looking for more easily and this will also affect beneficial way to SEO.
Actualizado: 02/03/2018
7001

Compartir:
PrestaShop allows you to create categories to organize your products. This will serve your customers to find the products that you are looking for, without having to go one by one and improving the usability of your online store. This is very useful also when setting certain preferences such as transporters, prices, etc., and will bring you benefits in search engine positioning.
The categories are created on Catalog > categories. On this page you will see a table with the categories that are already created, showing the information of each one of them.
To view subcategories, you have to click on the parent category or select See on the actions menu.

Using the green check of column Shown table, you can indicate that you want to hide the corresponding category. When you click the check becomes one x red color.
You must take into account that all categories are in fact subcategories of the category of Home. To edit a category click on the button Modify on the button bar. To create a new category (or a subcategory within an existing category), click the button Add new category at any level of categories.

First, you must enter the category general information:
-Name. Specifies a name to your category. Be sure to be descriptive, short and simple.
-Shown. Indicates if this category will be visible on the front.
-Category father. If you want to create a subcategory which belongs to a category which is not the home page, select the category to which they belong.
-Description.Indicates that you will find the customers within that category.
-Cover image of category. Add an image that represents the category. You will only have to click on Add file to upload an image from your computer.
-Category thumbnail.Displays a small image on the main category page. You must take into account that it depends on if the template allows this image.
-Miniature of the Menu. Category thumbnail appears in the menu as a small picture that represents the category, if the subject permits.
-Meta title. It is the title that will appear in the search engines. It should contain 70 characters.
-Meta description. It is the description will appear in the search results. It uses 160 characters.
-Meta keywords. Specifies the words that define the category so that they serve as a reference in the search engines.
-Friendly URL. You can rewrite the addresses of your categories as you wish. By default, the name of the category displayed.
-Group access. You can limit access to the category and products including certain groups of customers. To view these categories, buyers must belong to the group that is allowed.
-Root category.Only shown in creating a root category. If you want to replace this home as a root category, you must mark this option to apply the change.
Review and edit categories
If you want to edit the categories you must click on the Modify button. When you click on view in any category will open and all your subcategories will be displayed so that you can edit them.
Importing and exporting categories
Other options also appear in the list of buttons:
-Export. You can download the list of all CSV categories.
-Import.Opens the page ' advanced parameters > Import CSV files ". You will need the CSV file to follow this format:

Remember that:
-The category ID is the ID, not the name of the category.
-In displayed indicates 1 if the category is active and 2 If you do not want to display.
Add products to a category
To add a product to a category, you must open the page of the product settings and access to Associations. Here is where you can set the categories she belongs to the product and the category is padreo by default. This is important since it will be the category that is taken into account as the first choice when it is necessary to choose one.
-
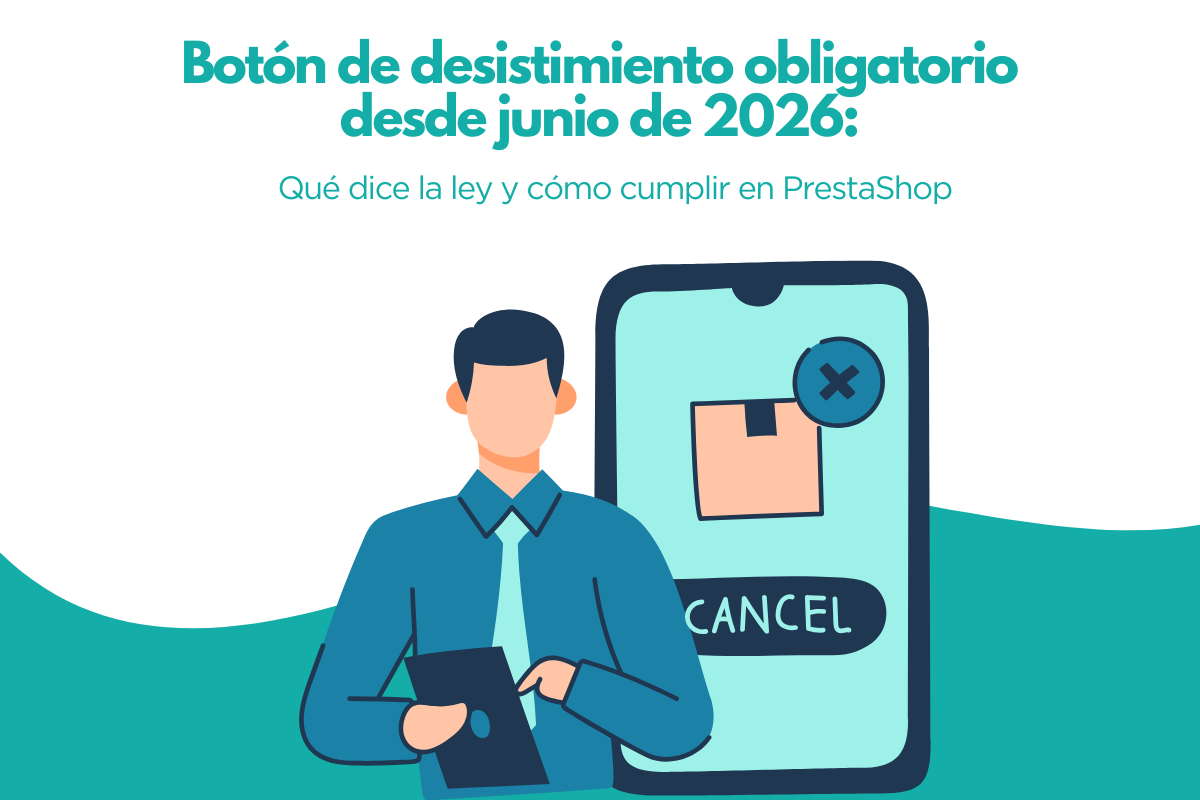 Improvements for your Prestashop store Botón de desistimiento obligatorio desde junio de 2026: Qué dice la ley y cómo cumplir en PrestaShop
 -
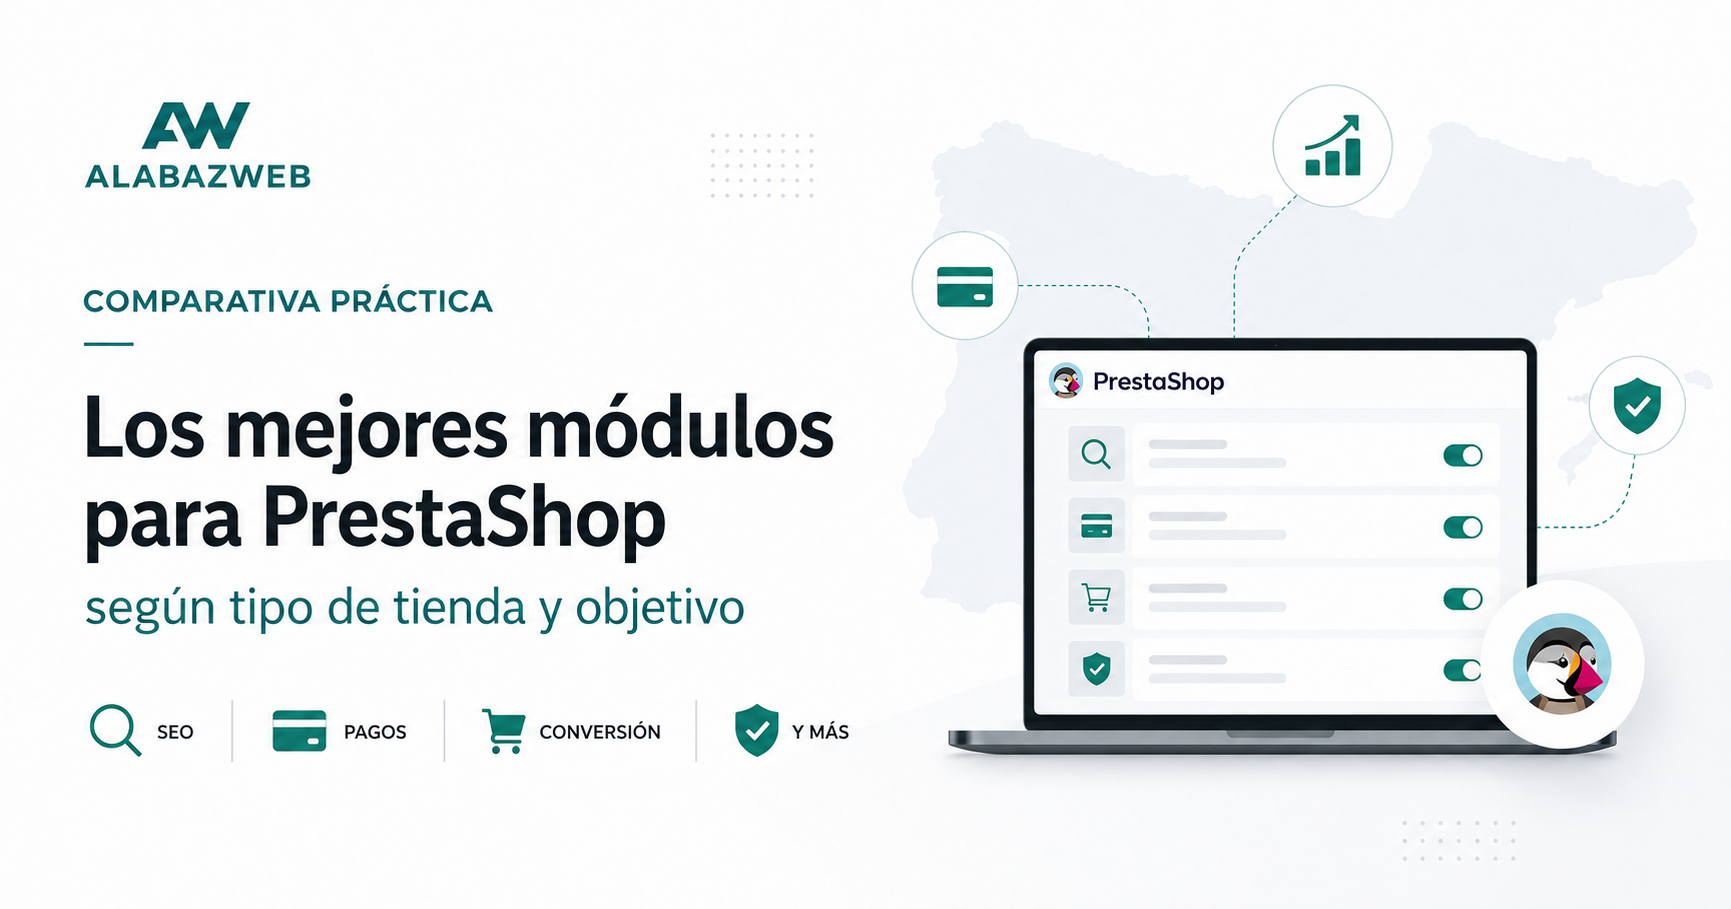 PrestaShop Training and Support Comparativa práctica: los mejores módulos para PrestaShop según tu tipo de tienda
 -
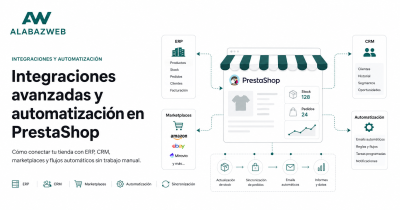
 PrestaShop Training and Support Integraciones y automatización en PrestaShop: conecta tu tienda con tu negocio
 -
 Prestashop custom programming Cómo elegir expertos en desarrollo de módulos a medida para PrestaShop
-
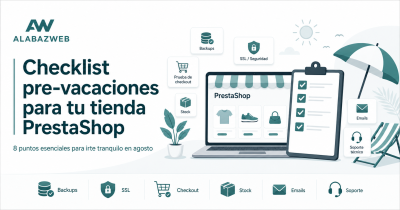 Improvements for your Prestashop store Tu tienda no se va de vacaciones: checklist pre-agosto para PrestaShop
 -
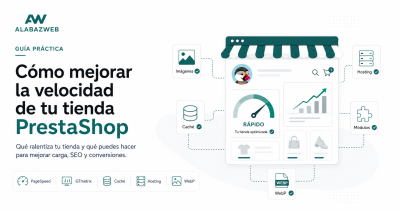 Improvements for your Prestashop store Cómo mejorar la velocidad de tu tienda PrestaShop (y por qué importa para vender)
 -
 PrestaShop Training and Support Integraciones y automatización en PrestaShop: conecta tu tienda con tu negocio
 -
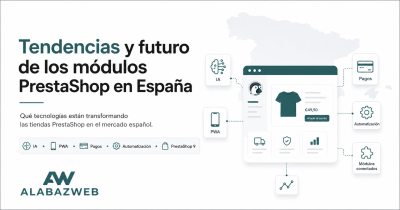 Improvements for your Prestashop store Tendencias y futuro de los módulos PrestaShop en España
-
 Improvements for your Prestashop store Boost Your PrestaShop Store with a Chatbot: The Ultimate Solution to Improve Customer Service
 -
 Improvements for your Prestashop store SOLVED: Redsys has not recorded my store payments since May 30
 -
 Improvements for your Prestashop store The success of Materiales de fabrica thanks to Megaproduct
 -
 Improvements for your Prestashop store What happens when you can't update Prestashop?
Escribe un comentario